I’ve found that adding string lights to your outdoor space can transform it into a magical oasis. But finding the right way to hang them can be a challenge. That’s why I’m excited to share my latest project: building planter posts for string lights.
This simple DIY solution not only provides sturdy support for your lights but also adds a decorative touch to your patio or backyard. In this guide, I’ll show you how to make these useful and beautiful planter posts using Quikrete Fast-Setting Concrete Mix, planters, and a few basic tools. So, let’s get started
Our family loves to relax on the patio, and now it has some serious ambiance thanks to my latest DIY project: planter posts for string lights.
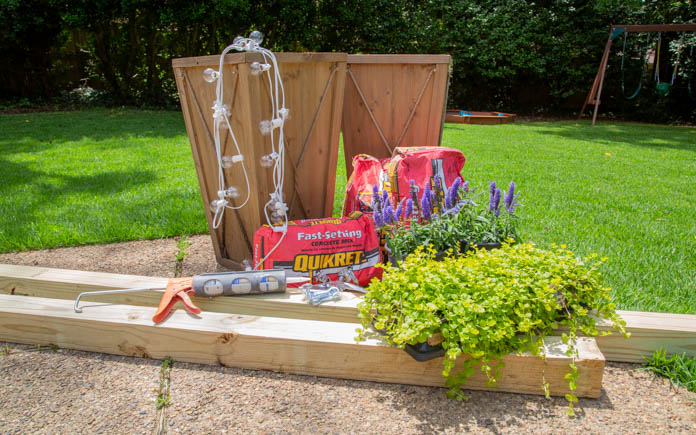
They’re super-easy to make. You just need Quikrete Fast-Setting Concrete Mix in the red bag, a couple of planters and string lights, and small tools.
Ready to create something special? Let’s dive into the steps.
Materials You’ll Need to Build Planter Posts
Collect the following items before you get started — you can purchase most at your local hardware store, Home Depot, Lowes, or Amazon:
- Bags of Quikrete Fast-Setting Concrete Mix (per post)
- 2-4 Planters (enough to support the café lights)
- 4-by-4 Posts (enough to support the lights)
- Steel Screw Hooks
- Outdoor string lights
- Drill
Step 1: Seal the Insides
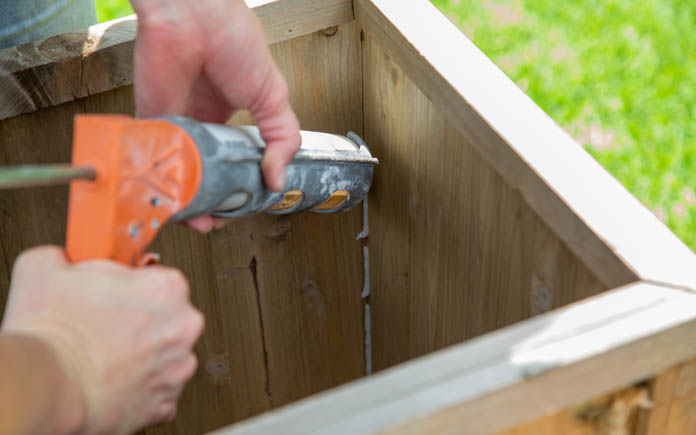
You won’t want potting soil or concrete mix to spill from your planters (I used wood), so apply Advanced Polymer Non-Sag Sealant or Advanced Polymer Construction Adhesive to close any gaps or cracks inside them.
Take your time to ensure a thorough application, paying extra attention to corners and seams. This step is crucial for preventing leaks and extending the life of your planter posts.
Step 2: Find a Location
Place the planter where it will be used. Make sure it’s where you’ll spend a lot of time and could use a little light. (I just want to stress — this is an almost permanent placement. You won’t want to move the planter after it has concrete in it.)
Consider factors like proximity to seating areas, overall aesthetic appeal, and the layout of your outdoor space when looking for the perfect spot.
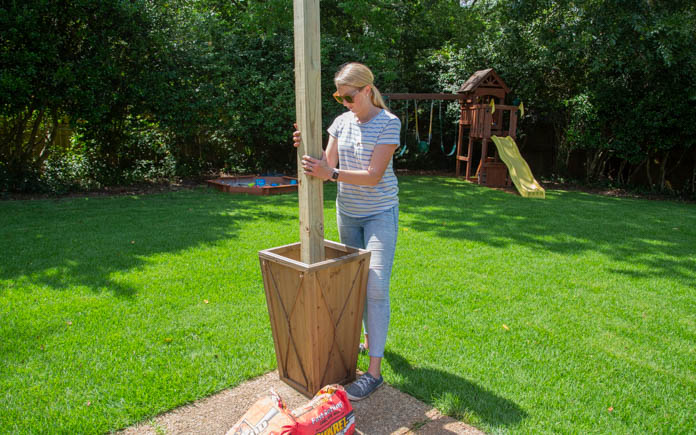
Step 3: Place the Post
Add a 4-by-4 post at the center of the planter. (I kept mine the full length of 8 feet.) You can eyeball it or check that each side-to-side measurement is the same.
For added stability, you may want to temporarily brace the post while you work on the next steps — or get help from a friend or family member. This ensures it remains perfectly centered as you add the concrete.
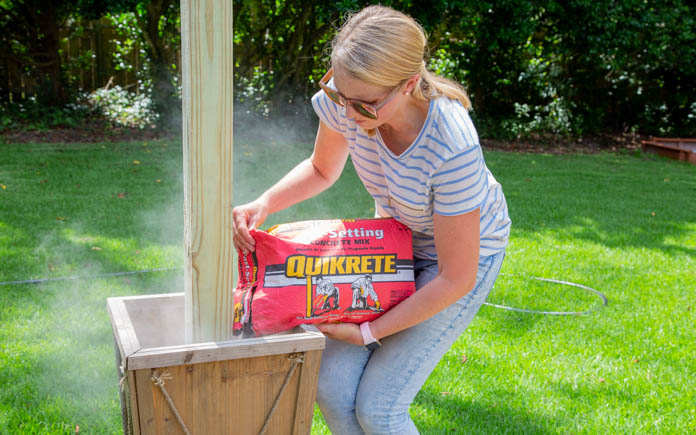
Step 4: Pour the Concrete
Slowly pour two bags of Quikrete Fast-Setting Concrete Mix around your post so that it’s evenly distributed. Take care to pour gradually and evenly to avoid air pockets. If you notice any uneven areas, gently tap the sides of the planter to help the concrete settle uniformly around the post.
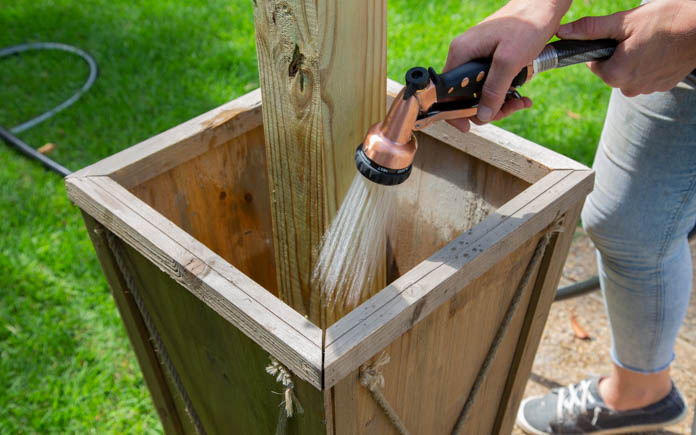
Step 5: Slowly Add Water
You’ll need approximately one gallon of water per 50-pound bag of concrete. The great thing about Fast-Setting Concrete is you don’t need to mix it around. Just pour in the concrete and add the water — easy peasy.
Pour the water evenly over the dry concrete, allowing it to absorb naturally. This method ensures proper hydration throughout the entire mixture.
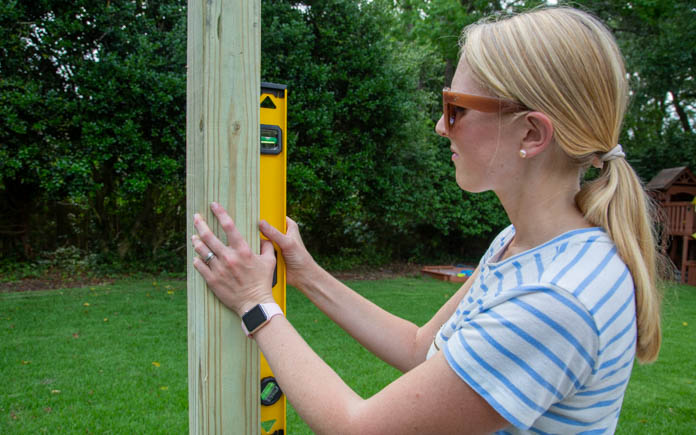
Step 6: Level It
While the concrete is setting but still loose, use a level to check that each planter post for string lights is perfectly plumb. It shouldn’t be leaning in either direction.
Take your time with this step, as it’s crucial for the overall stability and appearance of your finished planter posts. Make any necessary adjustments quickly before the concrete begins to harden.
Step 7: Repeat Steps 1-6
If you need a second planter to support your string lights, repeat these steps while the first one dries. By the time the second one is drying, the first one will be ready for the next step: hooks!
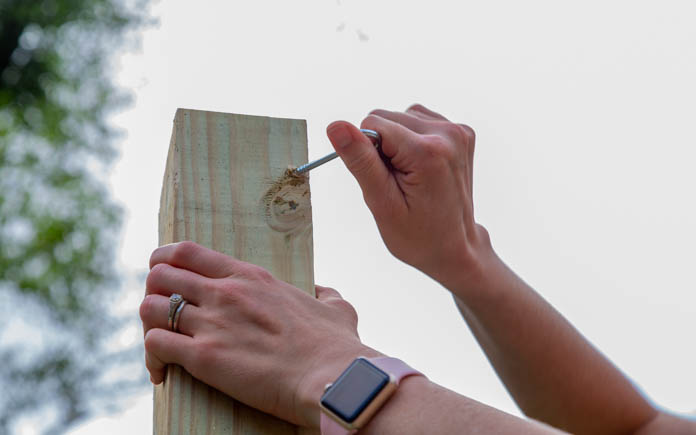
Step 8: Add Hooks
So far, we’ve got planters with posts secured in concrete. Now we need to create the support system for our string lights. Use a tiny drill bit to start a pilot hole on the corner of your post. Then attach a steel screw hook in your drill holes.
Ensure the hooks are securely fastened and positioned at the right height and angle to hang your string lights.
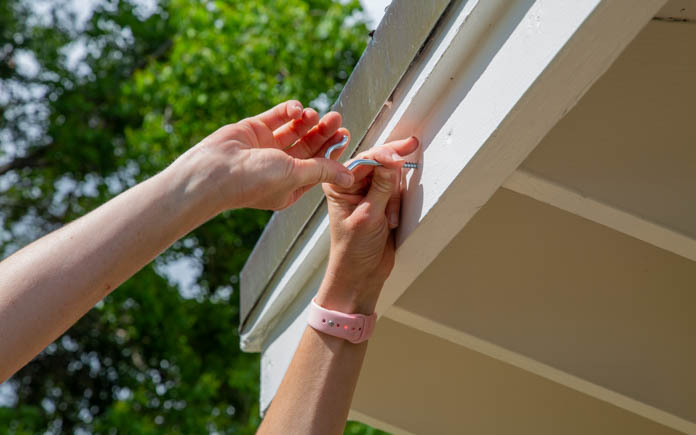
You can create four planter posts (arranged in a square or rectangle) to support the string lights, or drill two pilot holes into your home’s facia to connect the lights from the planters.
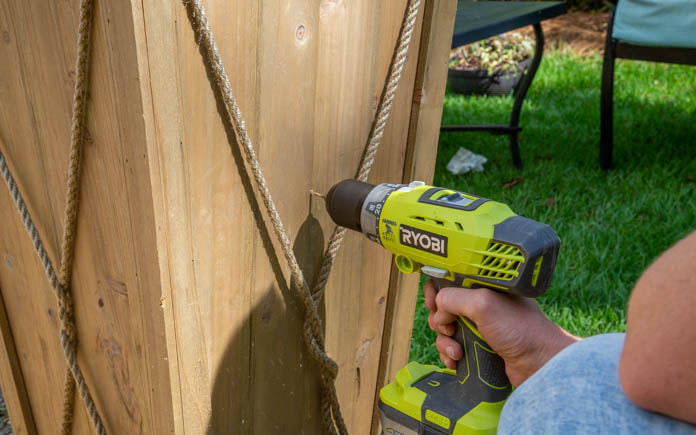
Step 9: Create Drainage
While you have your drill bit in your drill, add a small drainage hole on the backside of your planter above the concrete. This step is essential for preventing water buildup, which could damage your plants and concrete over time.
I recommend adding a few pebbles over the drainage hole near the bottom of the planter’s soil level to prevent your soil from clogging it.
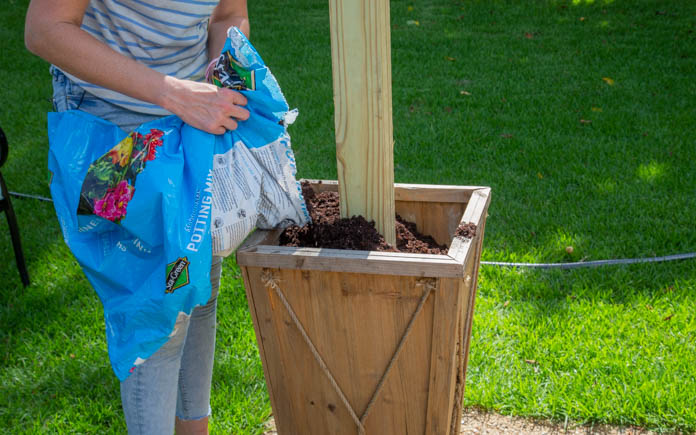
Step 10: Insert Plants
Add potting soil and plant some pretty plants. You can keep it simple with one plant per planter or, for eye-catching results, go ‘extra’ and create a ‘thriller, filler, spiller’ arrangement. (Google it.)
When selecting plants, consider their light requirements and how they’ll complement your outdoor decor. Don’t forget to water them regularly to keep your planter posts looking lush and vibrant.
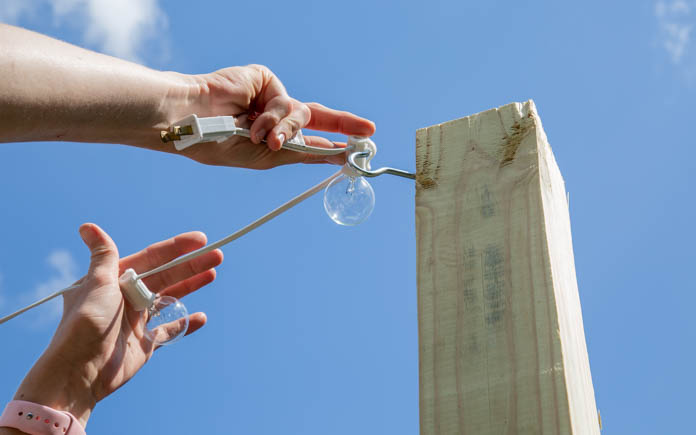
Step 11: Add Lights
Finally, drape your string lights over the hooks on the string light poles and plug them in. Take your time to properly hang string lights between the posts on the hangers/hooks you installed earlier. Consider using zip ties or light clips to secure the strings in place if you’re worried about wind knocking them loose.
That’s all it takes to make planter posts for string lights. Now, family gatherings on the patio have just a bit more atmosphere so you can make more memories together.
Optimal Height for String Lights
The ideal height for string lights typically ranges from 8–10 feet above the ground. This elevation provides ambient lighting without causing glare or obstructing your view. When determining the height for your planter posts, consider the scale of your outdoor space, the height of nearby structures, and the type of lighting you want to achieve.
Are Planter Posts for String Lights Hard to Move?
Wood posts with planters for string lights generally can’t be moved after you build them. The concrete base adds significant weight and stability, making relocation challenging.
If you anticipate needing to move your lighting setup in the future, consider alternative mounting options or create a modular design that allows for some flexibility in placement.
Consider Solar String Lights
Solar-powered string lights offer an eco-friendly and convenient alternative to traditional plug-in options. These lights harness energy from the sun during the day and automatically illuminate at night, eliminating the need for electrical outlets or extension cords.
While they may have a higher up-front cost, solar string lights can save on energy bills and provide hassle-free lighting for your outdoor space.
Final Thoughts
Building planter posts for string lights is a rewarding DIY project that combines functionality with aesthetics. By following the steps outlined in this guide, you can quickly build sturdy, attractive supports for your outdoor lighting that double as planters for your favorite flowers or greenery.
Remember to choose the right location, use quality materials like Quikrete Fast-Setting Concrete Mix, and take your time with each step of the process. After a few hours of work, you’ll be able to sit back and enjoy the new ambiance of your outdoor space with your new DIY string light planters.
Frequently Asked Questions
The cost typically ranges from $50–$100 per post, depending on the materials you pick and planter size. String lights run for around $30–$75, depending on the brand and length you need.
Yes, you can use plastic planters, but just make sure they’re sturdy enough to support the weight of the concrete and post.
Quikrete Fast-Setting Concrete Mix typically sets in about 20–40 minutes, but I recommend giving it a full 24 hours for complete curing.


