Concrete is one of the strongest building materials in home construction, but it can develop cracks and other damage over time due to weather exposure. Fortunately, concrete repairs aren’t as daunting as they seem. Homeowners with minimal DIY experience can learn how to patch concrete in just a few minutes.
If you’re new to concrete repairs, this guide is for you. Read on to see the step-by-step process of repairing minor concrete damage from start to finish.
Assessing the Damage
Before diving into repairs, you’ll need to assess the extent of the concrete damage. Thin repairs are fine for surface-level issues like small cracks less than 1/4 inch deep, but they won’t work for deeper damage.
If you have structural damage or more severe cracks, contact a local contractor for an estimate on repairs. In some situations, you may have to demolish the damaged concrete slab and pour a new one.
Tools and Materials Needed
After you assess the damage, it’s time to gather your materials. Homeowners will need:
- Safety gear (gloves, safety glasses, dust mask)
- Hammer and chisel
- Wire brush
- Vacuum or broom
- QUIKRETE concrete and asphalt cleaner
- Mixing bucket and paddle
- Trowel or putty knife
- Concrete patching compound
- Water for mixing and dampening surfaces
How To Patch Concrete
Once you have your tools and materials ready to go, it’s time to start patching the concrete. Follow the steps below to repair any damage to your concrete surface.
Step 1: Remove Damaged Concrete
The first step in repairing concrete is to remove any debris or damaged material so the repair compound bonds properly to the existing concrete. To do this, use a hammer and chisel to carefully chip away the damaged areas until reaching solid, structurally sound concrete underneath. Wear safety glasses, gloves, and a dust mask during this process to protect against flying debris.
Once you remove the damaged concrete, outline the repair area with painter’s tape. This will help create clean edges for the patch and make the repair less noticeable.
Step 2: Remove Loose Concrete Material
After the damaged concrete is done, use a wire brush to thoroughly clean the area. Scrub the surface to remove any remaining loose material and dust.
For easier dust removal, consider using a vacuum while brushing, then wipe away any residual dust with a dry cloth to make sure you have a clean surface.
Concrete dust removal is easier if you vacuum while brushing. Wipe away residual dust with a dry cloth when finished.
Step 3: Clean the Concrete Surface
Before you patch the concrete, use QUIKRETE concrete and asphalt cleaner to remove any dirt, oil, or grease that could prevent it from adhering to the surface.

Apply the cleaner to the outlined repair area and scrub with a stiff bristle brush. Allow the cleaner to sit for five minutes before rinsing with water. Make sure to rinse away all residue from the cleaner.
After it’s clean, let the surface dry completely for six to eight hours before moving on to the next step.
Step 4: Choose the Right Concrete Repair Material
For thin concrete surface repairs, you have two main options for repair materials: QUIKRETE vinyl concrete patcher and QUIKRETE concrete patching compound.
For heavy-use areas or slightly deeper repairs, the vinyl concrete patching material is the better choice. For quick, minor surface fixes, the patching compound is an easy solution.
The average concrete driveway repair costs can be steep, but if you only need a little bit of patching material to finish the job, it should only cost roughly $10 per quart of patching compound or a 10-pound bucket of vinyl concrete patcher.
Step 5: Apply Solutions to Cracks
Once you choose your repair material, it’s time to mix and apply the solution to the damaged areas. Depending on which material you use, the process is different.
Applying QUIKRETE Vinyl Concrete Patcher
If you’re using concrete patching powder, do the following:
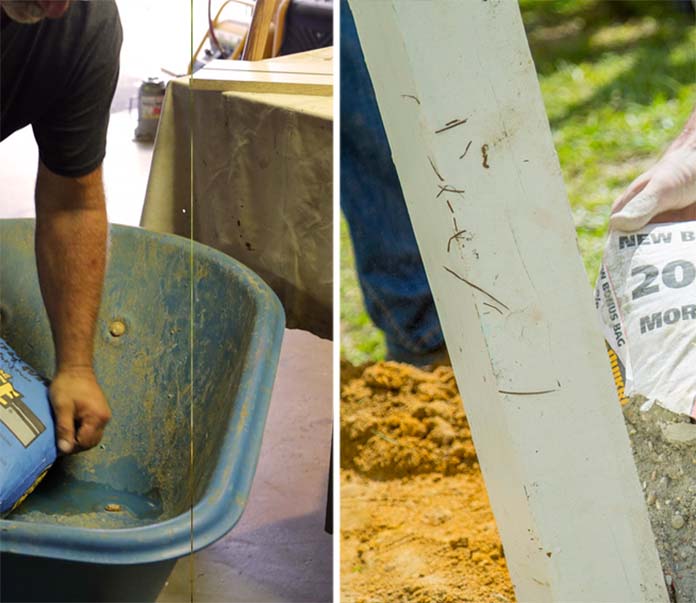
- Mix by pouring 10 ounces of water into a container and gradually adding about five pounds of powder while stirring constantly with a mixing paddle on low speed.
- Mix thoroughly for up to five minutes until smooth.
- Let the mixture sit for a few minutes to activate the polymer resin, then remix before use.
- Pre-dampen the repair area by misting it with water.
- Remove any standing water.
- Use a trowel to press the mix into the damp repair zone, filling it completely.
- For deeper patches, apply thin layers, allowing 30 minutes between each for curing.
- Smooth and blend the layers for a seamless finish, feathering edges around the patch.
- Protect the repaired area from excess moisture while curing.
- Allow 24 hours to cure before you allow any foot traffic and three days to cure before any vehicles can drive on patched areas.
Applying QUIKRETE Concrete Patching Compound
If you’re using a premixed patching compound, do the following:
- Stir the premixed compound thoroughly before use.
- For cracks, force the compound into the cracks using a putty knife, smoothing flush with the surface.
- For larger damaged spots, spread the compound over the area, matching the existing concrete texture.
- Lightly mist the patch for 30 minutes while drying to prevent rapid evaporation.
- Allow the repair to dry for one or two hours before use.
Step 6 (Optional): Apply a Sealant
Once the repair is dry, consider applying a sealant. Sealing offers an extra layer of protection, making your repair more resistant to stains, moisture, and everyday wear and tear.
The application process will vary depending on what type of sealant you purchase, so be sure to follow the manufacturer’s instructions when applying.
Tips for Successful Concrete Repairs
For the best results when making thin repairs to damaged concrete surfaces, keep these tips in mind:
- Always follow the manufacturer’s instructions for mixing and application.
- Work in moderate temperatures, avoiding extreme heat or cold.
- Keep repaired areas moist during the curing process to prevent cracking.
- Consider applying a concrete resurfacer over the entire area after repairs are complete.
Final Thoughts About How To Patch Concrete
Patching concrete is a simple DIY task with the right materials. In just a few hours, you can patch up cracks in your driveway and make it look as good as new. If you follow the steps above properly, you can expect your concrete repairs to last for years to come.
FAQs About Concrete Surface Repairs
Specialty compounds like QUIKRETE Vinyl Concrete Patcher, which bonds thin layers, work best. The standard mix suits thicker structural repairs better.
Factors like freeze-thaw cycles, inadequate curing, heavy use, corrosion issues, and chemical exposure can all damage concrete over time. Preventative sealants help protect surfaces.
Cure times vary by product, from one to two hours for quick fixes and up to two to four days for structural repairs. Check the manufacturer’s directions for specifics, as proper curing is vital for durable repairs.
We don’t recommend it. Without special bonding agents, new concrete layers adhere poorly and risk peeling or cracking. In contrast, patch mixes will bond directly to existing concrete.